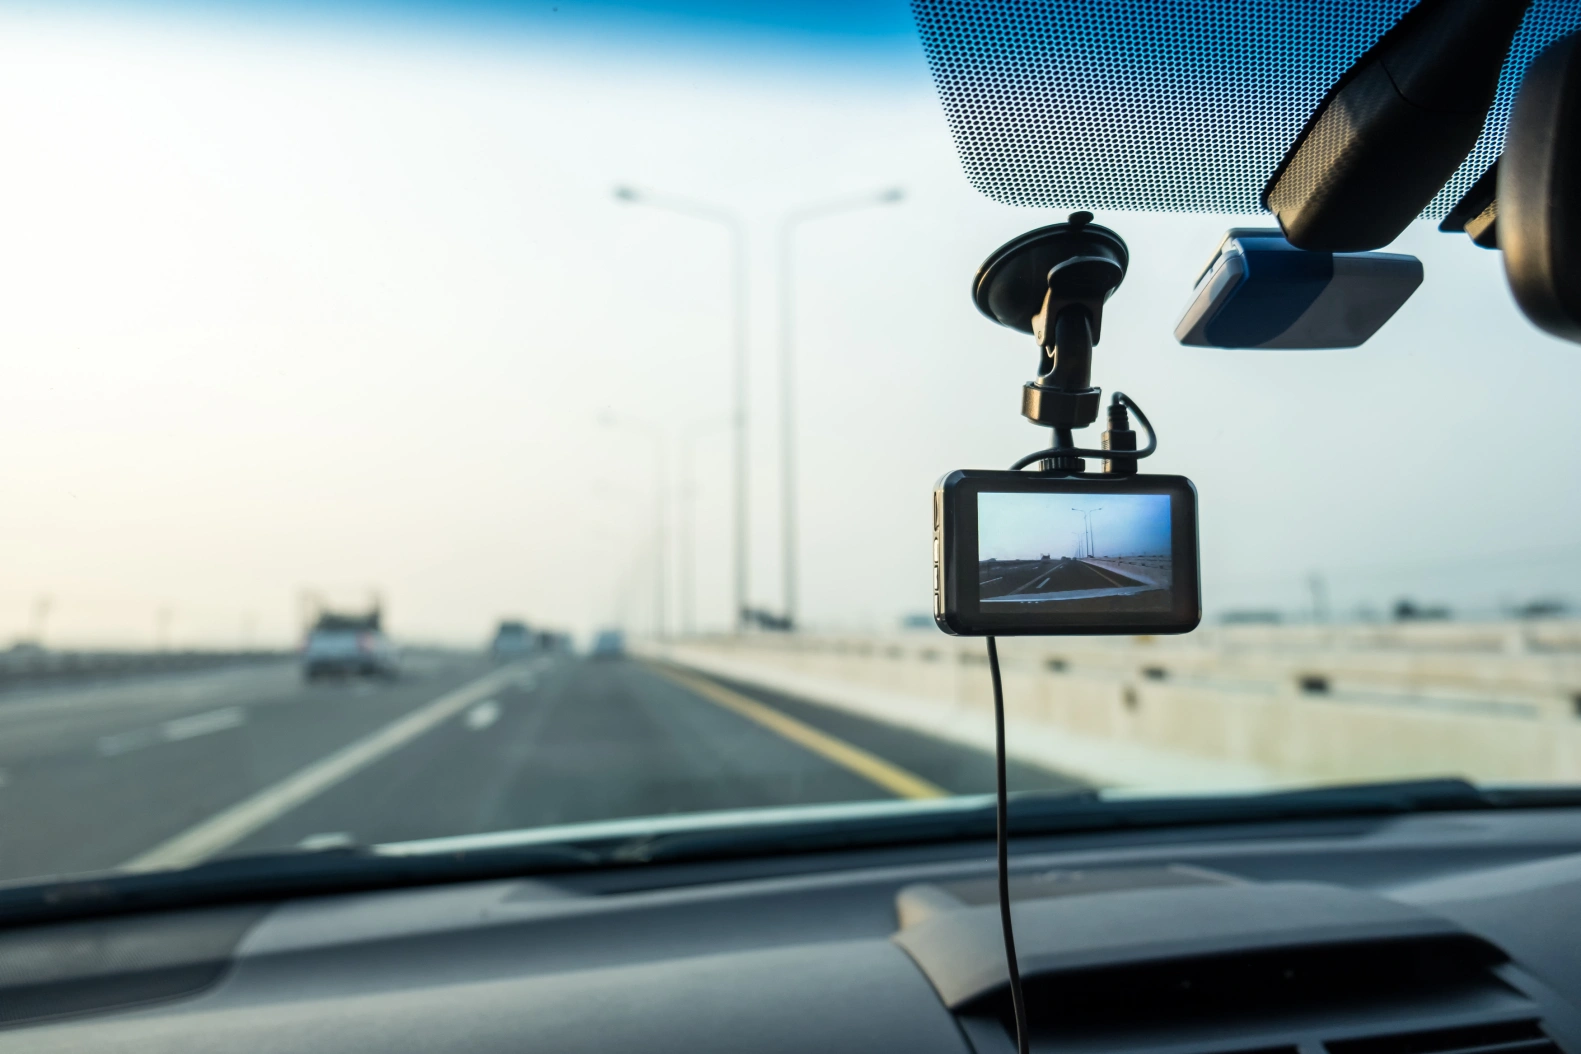
Dash cams have become increasingly popular over the past few years, providing drivers security and peace of mind. Installing the best dash cam for car can be an excellent investment if you want to record your rides and travels or monitor your surroundings while on the road. However, installation isn’t always easy, and understanding how to install one properly can be tricky. Fortunately, there are some simple tips that anyone can follow to ensure their dash cam is installed correctly. Explore the top 10 car dash cam installation tips so you can drive confidently, knowing your vehicle is constantly monitored.
Where to Mount a Dash Cam?
When deciding where to mount your dash cam, there are a few things to consider. The most crucial factor is the camera’s unobstructed view of the road ahead. It will ensure you capture all the essential details in any footage you record.
Another thing to consider is the angle at which the camera is mounted. You want to ensure that the camera is level, so your footage is not distorted. You also want to avoid mounting the camera too high or too low, as this can impact the quality of the footage.
Ideally, it would be best to mount the dash cam behind your rearview mirror. It provides an optimal view of the road while allowing you to see the windshield. If you have a front-facing camera, you may want to consider mounting it on the passenger side of the windscreen so that it doesn’t obstruct your view while driving.
Ensure your dash cam is securely mounted so it doesn’t become dislodged during operation. Most dash cams have mounts that attach to your windshield via suction cups or adhesive pads. For added security, you can use Velcro strips or double-sided tape to secure the camera further.
How to Install Your Dash Cam?
Ideally, it would be best if you mounted your dash cam behind the rearview mirror, so it has a clear view of the road ahead.
To install your dash cam:-
- Clean the windshield where you’ll be mounting the dash cam. It will ensure good adhesion and prevent dirt and dust from getting between the mount and the windshield.
- Peel off the adhesive backing on the mount and attach it to the windshield.
- Plug the power cord into your dash cam and then into an unused power outlet in your vehicle, such as a cigarette lighter socket or accessory port. If your car doesn’t have an available power outlet, you can wire the dash cam directly to the battery using a splitter cable (not included).
- Once plugged in, turn on your dash cam and adjust the position of the camera lens, so it has a clear view of the road ahead through the windshield.
Top 10 Tips for Car Dash Cam Installation
1. Know your car and get the best camera for car recording.
2. Install the dash cam in a safe location and in a way that doesn’t interfere with your driving
3. Turn off the engine, open the hood, and remove any loose items within reach of the camera.
4. Install the suction cup mount by attaching it to the windshield, then place the camera on top of it.
5. Turn on your dash cam, connect it to your smartphone via Wi-Fi or USB cable, and scan for available networks.
6. Connect your device to your cellular network
7. Make sure that you have enough memory space on your device for all photos and videos taken by your dash cam.
8. Set up motion detection so that you’ll be alerted automatically via email or text message when something happens, such as a car accident or theft attempt.
9. Make sure that the camera is level. A crooked dash cam can result in footage that is difficult to watch.
10. Position the camera so that it doesn’t obstruct your view. You should be able to see from all corners of the windshield, and the camera shouldn’t get in the way of your rearview mirror.
The best dash cams for cars are very easy to install since they will not block visual sight to the driver. The camera should be placed in a location that offers a full view of the road while also making sure no one can steal it. You need to consider additional information when installation. There is little point in having a camera for car recording if you do not have any memory cards or batteries for it.


