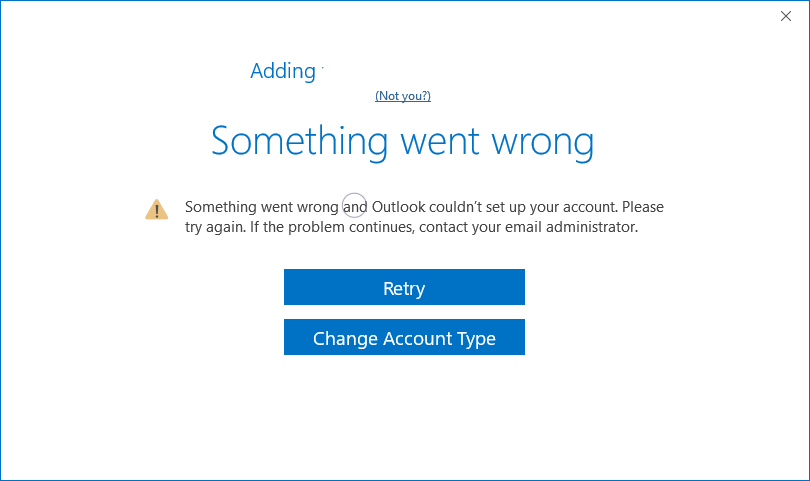
The Windows Problem Reporting Service, also known as Windows Error Reporting (WER), is designed to collect information about software crashes and other issues, sending these reports to Microsoft to improve the overall system stability. However, some users may prefer to disable this service to prevent unnecessary resource usage or to enhance privacy. This guide will walk you through the steps to disable the Windows 11 Problem Reporting Service.
Why Disable the Problem Reporting Service?
Before proceeding, it’s important to understand the reasons why you might want to disable the Windows 11 Problem Reporting Service:
- Privacy Concerns: Some users prefer not to send error reports to Microsoft for privacy reasons.
- Performance: Disabling the service can potentially free up system resources, improving overall performance.
- Customization: Advanced users may want to manage error handling on their own without relying on the automatic reporting service.
Step-by-Step Guide to Disable the Problem Reporting Service
Method 1: Using Services
- Open the Run Dialog: Press
Windows + Rto open the Run dialog box. - Access Services: Type
services.mscand pressEnter. This will open the Services window. - Locate Problem Reporting Service: Scroll down and find the service named “Windows Error Reporting Service.”
- Stop the Service: Right-click on “Windows Error Reporting Service” and select
Stop. - Disable the Service: Right-click again, select
Properties, and in theStartup typedropdown, chooseDisabled. ClickApplyand thenOK.
Method 2: Using Group Policy Editor
- Open the Run Dialog: Press
Windows + Rto open the Run dialog box. - Access Group Policy Editor: Type
gpedit.mscand pressEnter. This will open the Local Group Policy Editor. - Navigate to Error Reporting: Go to
Computer Configuration>Administrative Templates>Windows Components>Windows Error Reporting. - Disable Error Reporting: Find the setting named “Disable Windows Error Reporting,” double-click it, select
Enabled, then clickApplyandOK.
Method 3: Using Registry Editor
Warning: Editing the registry can have unintended consequences if not done correctly. Proceed with caution and consider backing up the registry before making changes.
- Open the Run Dialog: Press
Windows + Rto open the Run dialog box. - Access Registry Editor: Type
regeditand pressEnter. This will open the Registry Editor. - Navigate to Error Reporting Key: Go to
HKEY_LOCAL_MACHINE\SOFTWARE\Microsoft\Windows\Windows Error Reporting. - Modify Registry Values: Create or modify the
DisabledDWORD (32-bit) value and set it to1. This will disable the Windows Error Reporting service.
Re-Enabling the Problem Reporting Service
If you decide to re-enable the Problem Reporting Service in the future, follow the same steps but revert the changes:
- In Services, set the
Startup typetoManualorAutomatic. - In Group Policy Editor, set the “Disable Windows Error Reporting” to
Not ConfiguredorDisabled. - In Registry Editor, set the
Disabledvalue to0or delete it.
Conclusion
Disabling the Windows 11 Problem Reporting Service can be beneficial for users concerned about privacy, system performance, or who prefer to manage error handling themselves. By following the methods outlined above, you can easily disable this service and tailor your Windows experience to better suit your needs. Remember to proceed with caution, especially when modifying the registry, and ensure you fully understand the implications of disabling this service.


